


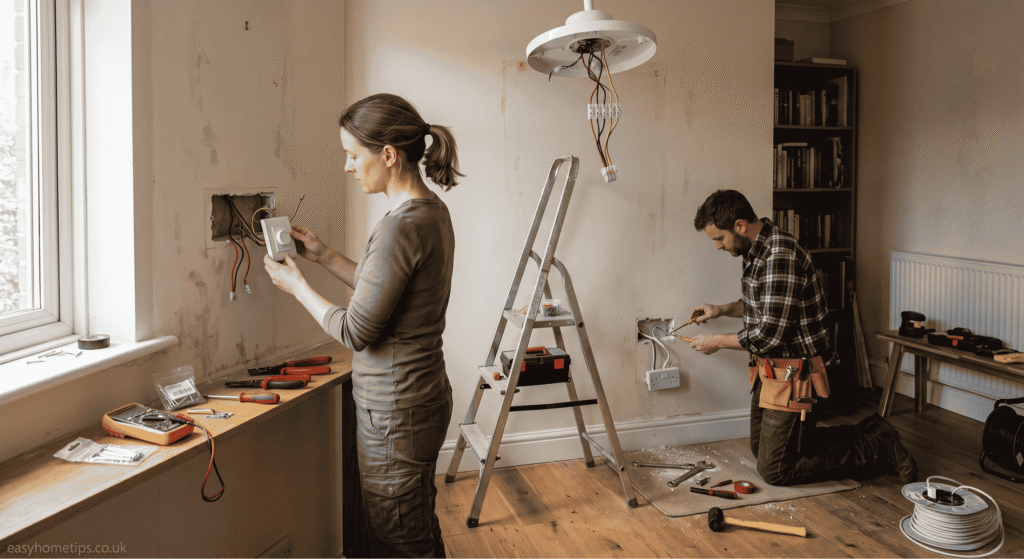
Electrical repairs in the home are one of the most common — and most avoided — tasks on any homeowner’s to-do list.
It’s easy to understand why. Electricity can feel scary. But here’s the good news: many everyday electrical problems are simpler to fix than you think — as long as you follow the right steps.
From a tripped circuit breaker to a dead outlet, this guide covers 9 smart, proven fixes you can handle yourself. You’ll save time, money, and a lot of frustration.
Let’s get started — safely.

1. Why Electrical Repairs in the Home Matter More Than You Think
Most homeowners wait too long before addressing electrical issues. A flickering light or a warm outlet might seem minor. But these small signs can point to bigger — and more dangerous — problems.
According to the U.S. Fire Administration, faulty home wiring and electrical failures cause thousands of house fires each year. That’s a powerful reason to stay proactive.
What Counts as a DIY-Friendly Electrical Repair?
Not every electrical job needs a licensed electrician. Here are tasks most homeowners can handle safely:
- Replacing a light switch or outlet — Low-risk, no permit needed in most areas
- Resetting or replacing a GFCI outlet — Quick and requires basic tools
- Fixing a tripped circuit breaker — Usually just a reset or load balance fix
- Installing a ceiling fan on an existing box — Moderate — needs correct wiring knowledge
- Replacing a light fixture — Easy if you match wire colors correctly
On the other hand, tasks like upgrading your electrical panel, running new circuits, or rewiring entire rooms should always go to a licensed professional.
2. Essential Tools for Safe Electrical Repairs in the Home
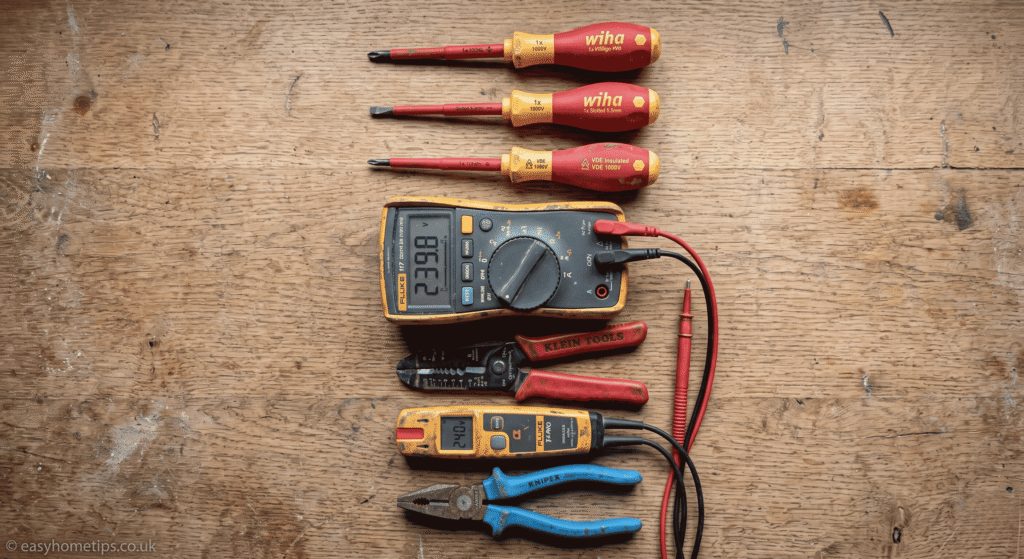
Before you touch a single wire, you need the right tools. Good equipment doesn’t just make electrical repairs in the home easier — it makes them safe.
Here’s a quick reference table of must-have tools and what they’re used for:
| Tool | Primary Use | Why It Matters |
|---|---|---|
| Non-contact voltage tester | Detect live wires without touching | Prevents accidental electrocution |
| Insulated screwdrivers | Tighten/loosen electrical terminals | Protects against shock |
| Wire stripper | Remove insulation from wires | Ensures clean, safe connections |
| Multimeter | Measure voltage, current, resistance | Diagnose faults accurately |
| Needle-nose pliers | Bend and position wires | Improves precision in tight spaces |
| Circuit breaker finder | Identify the correct breaker | Saves time, reduces errors |
| Electrical tape | Insulate exposed connections | Prevents short circuits |
Always invest in quality, insulated tools. Cheap tools break — and that’s dangerous when electricity is involved.
3. How to Safely Reset a Tripped Circuit Breaker
A tripped circuit breaker is one of the most common — and easiest — electrical repairs in the home. It happens when a circuit draws more current than it’s rated for.
Step-by-Step: Resetting Your Breaker
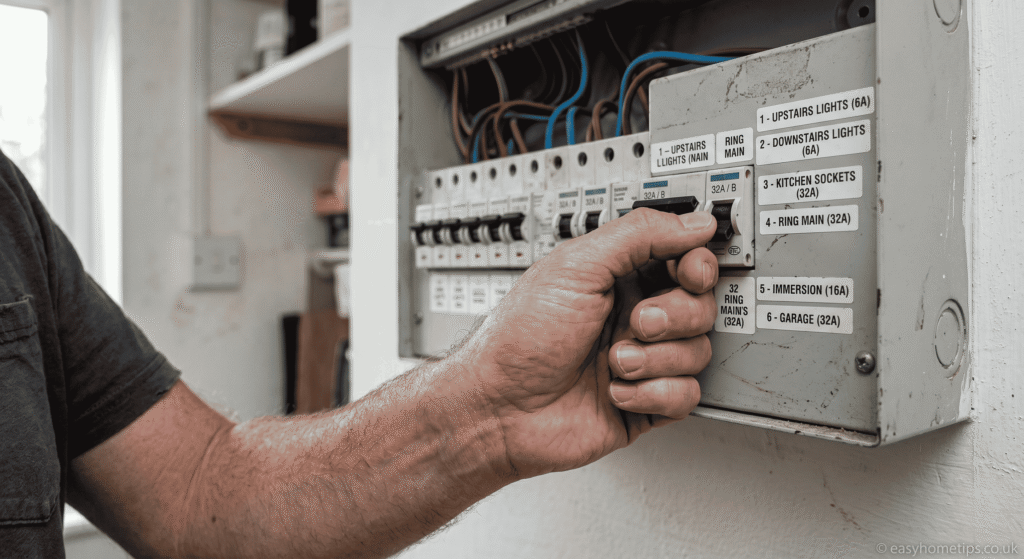
- Step 1: Go to your electrical panel and look for a breaker in the middle position (between ON and OFF).
- Step 2: Push it fully to the OFF position first.
- Step 3: Then firmly flip it back to ON.
- Step 4: Test the outlets or lights on that circuit.
If the breaker trips again immediately, you have an overloaded circuit or a short circuit. In that case, unplug devices and try again. If it still trips, call an electrician.
Pro Tip: Never ignore a frequently tripping breaker. It’s your home’s built-in warning system.
4. Replacing a Dead Electrical Outlet the Smart Way
Dead outlets are frustrating. Fortunately, replacing an outlet is one of the most approachable electrical repairs in the home for a confident DIYer.
Is Your Outlet Dead or Just Protected?
Before replacing anything, check your GFCI outlet (Ground Fault Circuit Interrupter). These outlets — usually found in bathrooms and kitchens — have a reset button in the middle. Press RESET and see if power returns. Many people replace outlets unnecessarily because they missed this step.
How to Replace a Standard Outlet
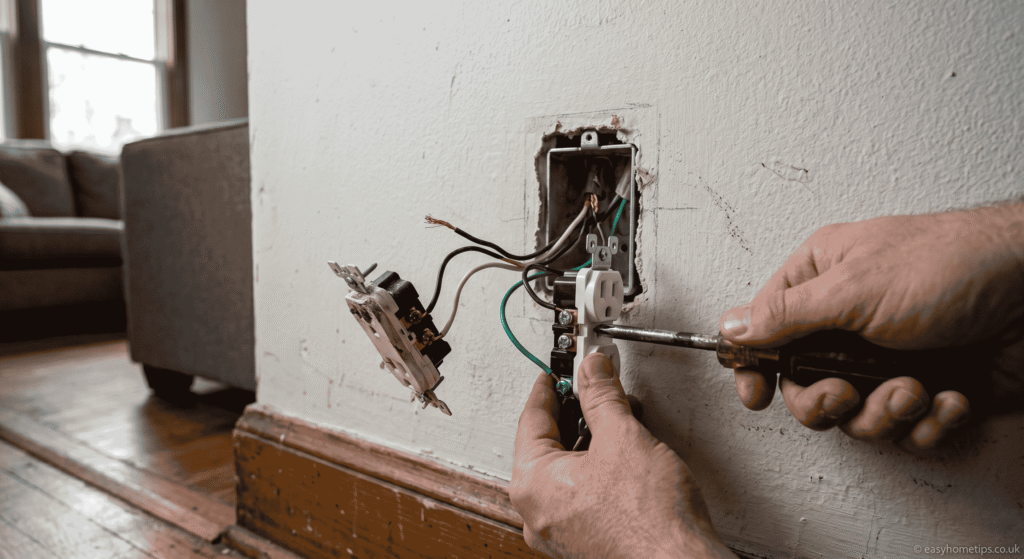
- Turn OFF the breaker for that outlet at your electrical panel.
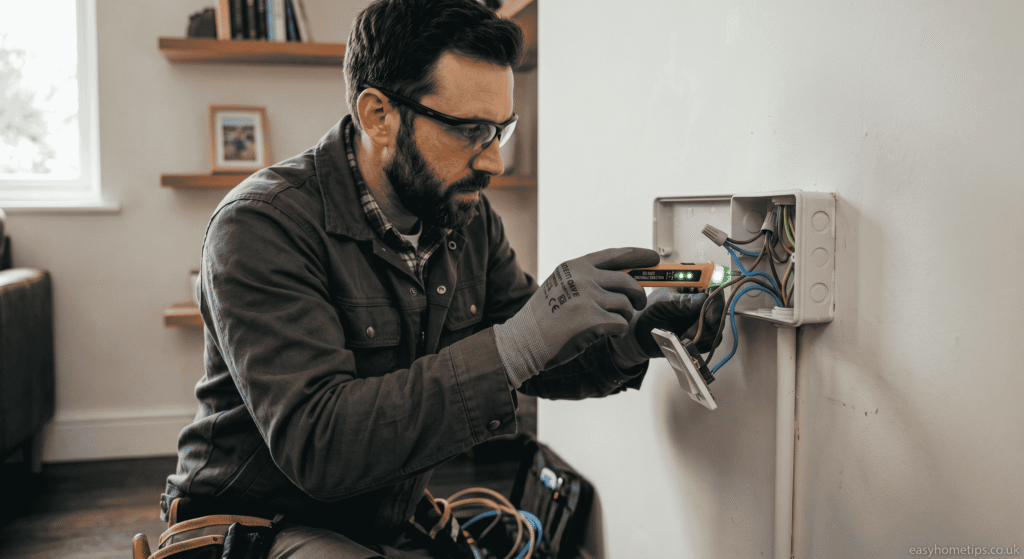
- Use a non-contact voltage tester to confirm no power is flowing.
- Unscrew the outlet cover plate and pull the outlet out.
- Take a photo of the wiring before disconnecting anything.
- Transfer each wire to the matching terminal on the new outlet.
- Push the outlet back in, replace the cover, restore power, and test.
Always match wire colors: black to the brass screw (hot), white to the silver screw (neutral), and green or bare copper to the green screw (ground).
5. Fixing Flickering Lights: What Your Home Is Trying to Tell You
Flickering lights are annoying, but they’re also a signal. Sometimes the fix is simple — other times, it points to a serious wiring issue.
Common Causes of Flickering Lights
- Loose bulb: Tighten or replace the bulb first — it’s often that simple.
- Faulty light switch: The switch contacts may be worn. Replacing it costs under $10.
- Overloaded circuit: Too many high-wattage devices on one circuit cause voltage dips.
- Loose wiring connection: This is more serious and may require an electrician.
- Utility supply issue: If your whole house flickers, call your power company.
- Flickering tied to a specific appliance — like your HVAC — usually means that appliance is pulling too much electrical load when it starts. This is a common and usually harmless phenomenon called a voltage drop.
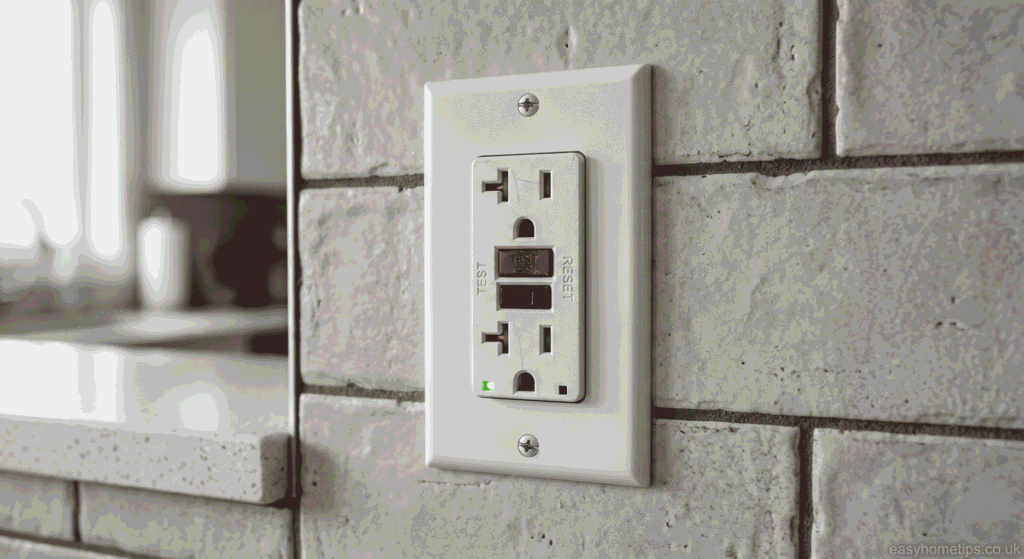
6. Installing a GFCI Outlet: A Powerful Safety Upgrade
If you have outlets near water — in the kitchen, bathroom, garage, or outdoors — and they’re not GFCI protected, this is one electrical repair in the home that should move to the top of your priority list.
GFCI outlets detect dangerous ground faults and cut power in milliseconds, preventing electrocution. In the U.S., the NEC (National Electrical Code) now requires them in all wet locations.
How to Install a GFCI Outlet
- Turn off the breaker for that circuit.
- Remove the old outlet (photo the wiring first).
- Connect the LINE side terminals (the hot wires coming from the panel).
- If protecting downstream outlets, connect the LOAD side terminals too.
- Push in and secure the outlet, attach the cover, restore power, and test using the TEST/RESET buttons.
A GFCI outlet is one of the best $15–$20 investments you can make in your home’s safety.
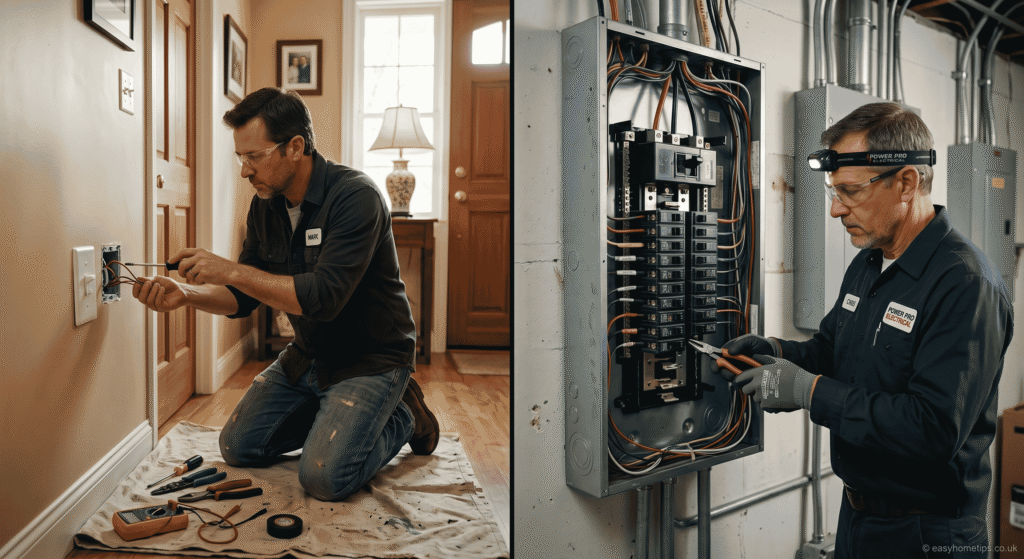
7. When to DIY vs. When to Call a Licensed Electrician
Not all electrical repairs in the home are created equal. Knowing your limits isn’t a weakness — it’s wisdom.
DIY-Safe Tasks:
- Replacing switches and outlets (standard, not smart panels)
- Installing ceiling fans on existing boxes
- Swapping out light fixtures
- Resetting tripped breakers
- Installing GFCI outlets on existing circuits
- Replacing a doorbell transformer
Always Call a Pro:
- Adding new circuits or subpanels
- Upgrading from a 100A to 200A service
- Full home rewiring (especially in older homes with knob-and-tube wiring)
- Installing EV charger circuits
- Any work inside the main electrical panel
- Permits-required work in your municipality
The rule of thumb: If you’re working downstream of the breaker on existing circuits, you’re usually in DIY territory. If you’re touching the panel itself or running new circuits, hire a pro.
8. Top Safety Rules for Electrical Repairs in the Home
Safety is non-negotiable when it comes to home electrical work. Follow these proven rules every single time, no exceptions.
- Always kill the power first. Turn off the breaker AND verify with a voltage tester.
- Never work alone on complex repairs. Have someone nearby in case of an emergency.
- Use only rated equipment. Check that outlets, switches, and wire gauges are appropriately rated for the circuit.
- Don’t overload circuits. Spread high-draw appliances across multiple circuits.
- Label your breaker panel. A clearly labeled panel saves time and prevents mistakes.
- Know your wire gauge. 14-gauge wire is for 15A circuits; 12-gauge is for 20A circuits.
- Keep a fire extinguisher handy. A Class C (electrical fire rated) extinguisher should be in every home.
- Protect your work. Use weatherproof covers outdoors; use junction boxes to protect all connections.
Remember: electricity doesn’t forgive mistakes. A few extra minutes of preparation can prevent injury, property damage, and costly repairs down the road.
❓ FAQ: Electrical Repairs in the Home
Q1. Is it legal to do your own electrical repairs at home?
In most U.S. states and many countries, homeowners are permitted to perform basic electrical repairs in their own residence without a license. However, some types of work — like adding new circuits or upgrading the service panel — require permits and inspections. Always check your local building codes before starting. Getting caught without a required permit can cause issues when selling your home.
Q2. How do I know if my home has faulty wiring?
Common signs of faulty home wiring include: frequently tripping breakers, flickering lights, burning smells from outlets, discolored or warm switch plates, and buzzing sounds from electrical fixtures. If you notice any of these, stop using the affected outlet or circuit and consult a licensed electrician as soon as possible. Ignoring these signs is a fire risk.
Q3. What is the most common electrical repair needed in homes?
The most common electrical repairs in the home include replacing worn outlets, resetting or replacing circuit breakers, fixing faulty light switches, and installing or replacing GFCI outlets in wet areas. These are also among the most beginner-friendly repairs, making them great starting points for confident DIYers who want to save on electrician costs.
Q4. Can I replace a circuit breaker myself?
Resetting a tripped circuit breaker is safe and easy. However, physically replacing a breaker inside your electrical panel is a different matter. The main panel bus bars are always live — even with the main breaker off in some cases. This job should generally be left to a licensed electrician. The risk of arc flash or electrocution is significant, even for experienced DIYers.
Q5. How much money can I save doing electrical repairs myself?
Hiring a licensed electrician typically costs $50–$100 per hour, plus parts. By learning to handle basic electrical repairs in the home yourself — like replacing outlets ($5–$15 in parts), fixing light switches ($5–$10), or installing GFCI outlets ($15–$25) — you can easily save $100–$300 or more per year. Over time, these small savings really add up, especially in older homes that need frequent updates.
Conclusion: Take Charge of Electrical Repairs in the Home

Electrical repairs in the home don’t have to be intimidating. With the right tools, a clear understanding of safety rules, and a little confidence, you can handle most common electrical issues yourself — saving money and gaining real peace of mind.
We’ve covered the most common repairs, from resetting breakers and replacing outlets to installing GFCI protection and recognizing the warning signs of faulty wiring. Each of these skills builds on the last, making you a more capable and safety-conscious homeowner.
The key takeaway? Always kill the power before you touch anything, invest in quality insulated tools, and know when a job calls for a licensed professional. Electricity is powerful — and so are you when you approach it with respect and knowledge.
Start with the easiest repairs — like resetting a GFCI outlet or tightening a loose switch — and build from there. Your home will be safer, your wallet will be happier, and you’ll feel incredibly empowered every time you flip a switch that you fixed yourself.
Ready to get started? Pick one repair from this guide today and make it happen. You’ve got this.


